Instructions on exchanging the drum unit (OPC Drum) for Konica Minolta Magicolor 2300
We generally recommend wearing latex gloves while handling sensitive parts of your printer such as drum units or cartridges.
If your printer starts printing stripes or your print outs do not satisfy your expectations any more the problem could be the drum unit. Therefore we provide instructions on how to change the drum at the developing unit of your printer.
Exchanging the drum unit:
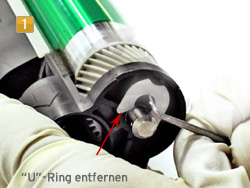
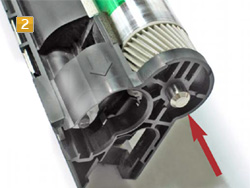
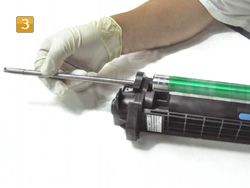
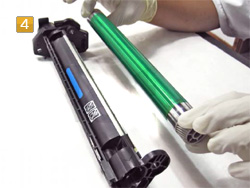
Remove the drum unit from your printer and place it on the table in front of you. Remove the “U”-ring from the drum axis with a small pliers (picture 1). Lay it aside you need it for reassembling. After removing the “U”-ring (picture 2) you can carefully pull the axis out of the drum unit (picture 3). Now you can remove the drum from its retainer and insert the new one (picture 4). Handle the new drum with special care so that it does not get damaged in any way. After inserting the new drum you can reassemble the cartridge in reverse order. Make sure that everything fits together smoothly. Now you need to exchange the fuse at the lower side of the developing unit.
Exchange the fuse:
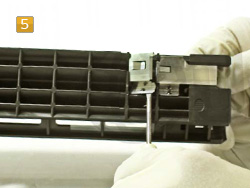
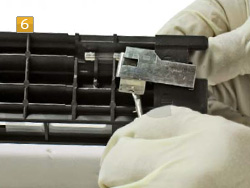
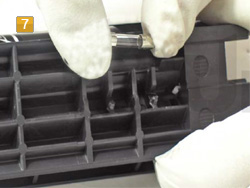
Loosen the 2 metal platelets on the lower side of the developing unit with a small, flat screwdriver (picture 5 and 6). Below them you can see the fuse. Exchange the fuse (picture 7) and insert the 2 metal platelets again. You can put the developing unit back into your printer now. After exchanging the drum unit you can now continue printing in the usual quality.
