


Remanufacturing Instructions for Samsung ML 1610:
Safety instructions: Octopus Office will not take any responsibility for success or failure of the described procedure. We do not liaise with the printer manufacturers. All trademarks, trade names or service marks are the property of their respective owners and are used for identification purposes only.
Instructions:
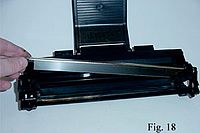
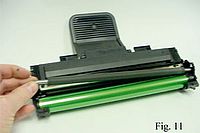
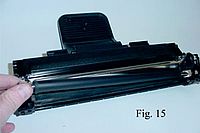
The remanufacturing and refilling of the cartridge will take you approximately 35 minutes. Prepare your workplace considering that and place the cartridge in front of you as shown in the picture. Please consider the fact, that you must on no account touch the green drum unit.

3. Now use the screwdriver as lever and remove the end cap. You can now see the closing plug of the filler opening. To refill toner you need to remove the plug. Before you can insert new toner you need to exhaust the old one with an aspirator for toner powders. If you only wanted to refill toner you can reassemble the cartridge after refilling. Otherwise, continue with item 4.

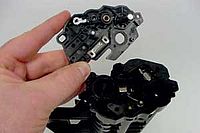
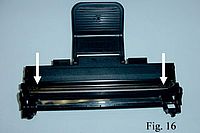
5. The waste toner container is fixed with a bolt that is located in a slot at the end cap. Push the container up towards the handle to remove the bolt from the slot. Lay the waste toner container aside.

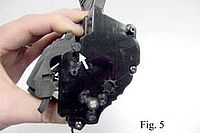
7. Use a flat screwdriver as lever to remove the end cap from the cartridge. Place the toner hopper aside.

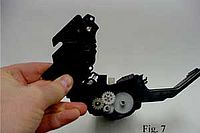
9. Remove the wiper blade. Remove all the old toner from the waste toner container. Check the wiper blade for damage and replace it if necessary. Place the waste toner container aside until reassembling.

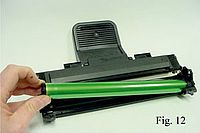
11. Now you need to remove the PCR. For that, push it towards the end of the cartridge with gear wheels. Once it is cleared from the saddle lift it up. Now you can clean the PCR and lay it aside until reassembling.
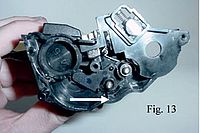
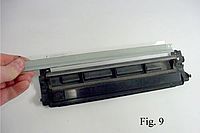
13. Remove the closing plug and the residual toner from the toner hopper. Open the locking mechanism that fixes the developer roller stabilizer plate with a flat screwdriver.
14. Lift up the end of the small spring that comes in contact with the developer roller end bolt. Now remove the stabilizer plate.
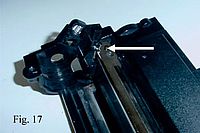
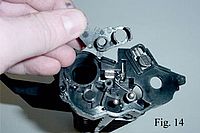
17. The opposite end of the spring, that rides on the developer roller, sits in a small notch on the doctor blade. Move the spring to the end of the doctor blade, so that you do not damage it while removing the blade. Note the orientation of the spring. It will make reassembling the cartridge easier.