Canon Pixma G1500, G2500, G3500, G4500 inkjet printer using GI-590 bottled ink and ink tanks
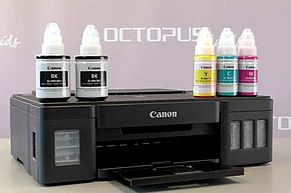
The inkjet printers Canon Pixma G1500, G2500, G3500, G4500 have an internal ink tank for each color of printer ink. These tanks are filled by using bottled Canon printer inks. In the Europe region these inks go by the codes GI-590 BK for black, GI-590 C for cyan, GI-590 M for magenta, GI-590 Y for yellow. Our video tutorial demonstrates switching on such a printer for the first time, filling the ink tanks and provides footage of the filling of the ink tubes inside the Canon Pixma G device.
A new Canon Pixma G1500, G2500, G3500 or G4500 comes with two bottles of black GI-590 BK, each bottle 135 ml. For the colors Cyan, Magenta and Yellow Canon includes 70 ml per color in the scope of delivery.
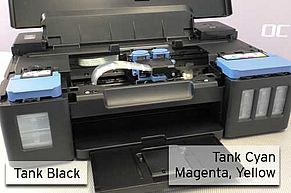
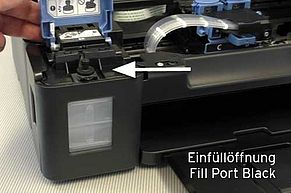
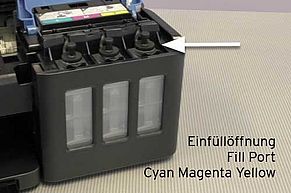
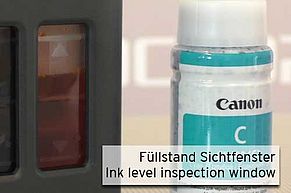
The tank for the black ink is located at the left, front corner of the printer device. At the same spot on the right corner there are the storage containers for the Cyan, Magenta and Yellow inks. All colors have an inspection window on the Canon Pixma G´s front to check on the ink level.
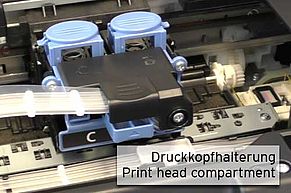
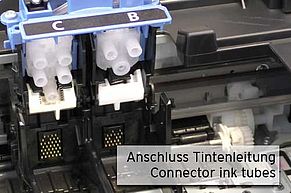
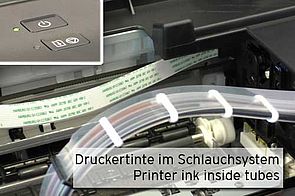
The ink tubes connect the ink storage tanks to the print head compartment inside the Canon Pixma G series. When the print head compartment´s upper lid is open You can see the connectors which link the ink tubes to the actual print heads. Inside the compartment there are two slots - one slot designated to the black print head (marked with B) and the other slot for the color print head (marked with C).
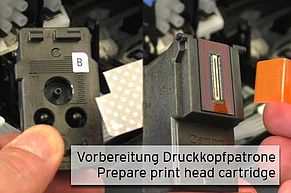
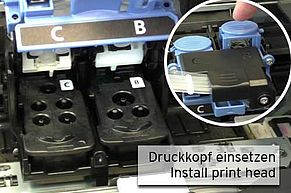
Before filling the ink system the actual print heads need to get installed. The print heads of the Canon Pixma G1500, G2500, G3500, G4500 are integrated print head cartridges that have connectors to the ink system on their upper lids. Remove the protection label from the print heads´upper side and the label covering the nozzle plate at the bottum as well. Now You can place the print head in its designated slot inside the print head compartment. Close the lid on the print head compartment and click the rear fixators in their place.
The filling of the printer ink into the storage tanks is actually quite simple. Just make sure to fill the right color into the right tank! Remove the rubber plug out of the tank´s fill port - take off the GI-590 bottle´s cap and lower the fill tip towards the fill port. When the tank completely empty the whole content of the ink bottle fits in. Squeeze the bottle together carefully a couple of times to release the ink out of the bottle. You can check on the ink level by the inspection window at the front.
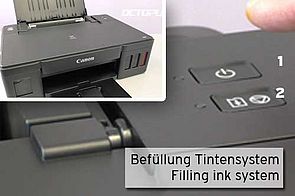
Close the upper lid on the Canon Pixma G inkjet printer to start the initial filling of ink system. Then press the power button (1) and when the print head has stopped moving, You can actually hear that, then press the resume button (2) for at least 5 seconds. The Canon printer now starts to pull ink from the tanks into the ink tubes towards the print heads. The filling process is completed when the green LED beside the Power button is shining constantly. Your Canon Pixma G1500, G2500, G3500, G4500 is now ready to be used.
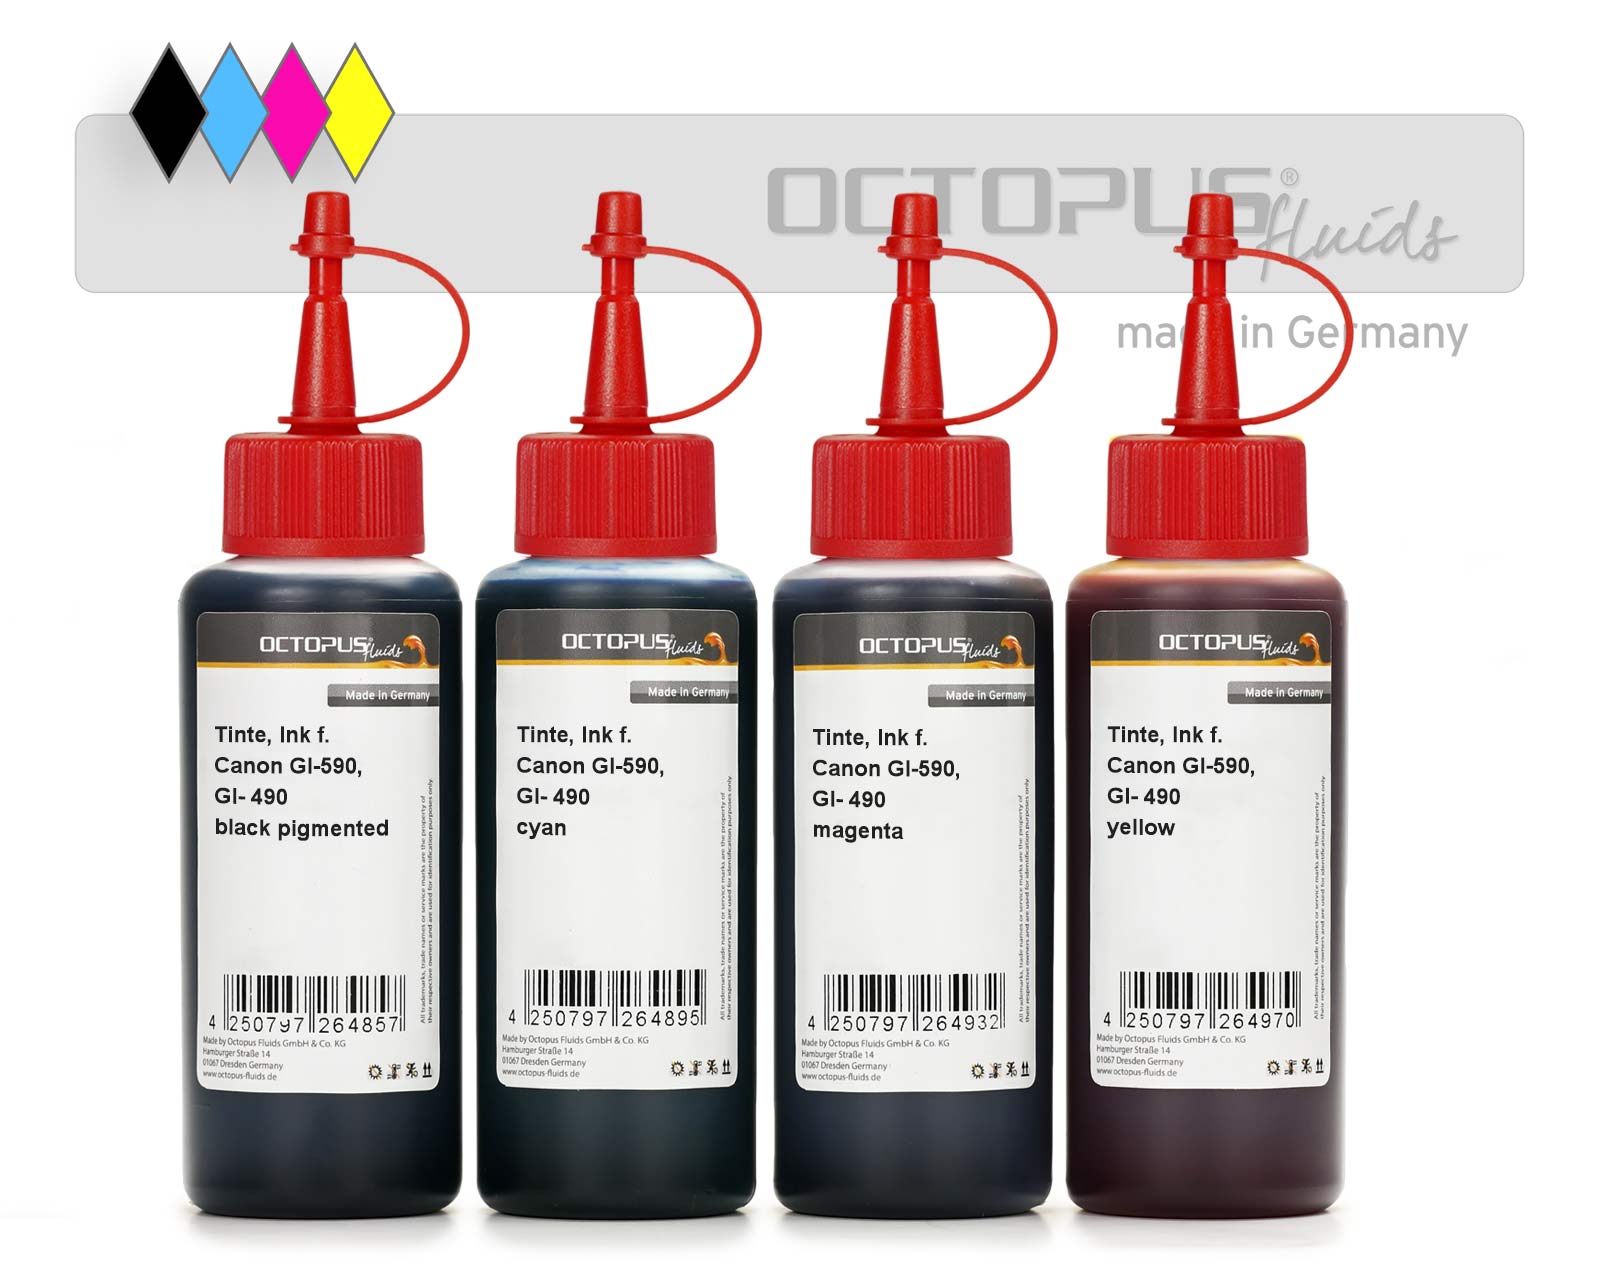 Refill ink kit for Canon GI-590, GI-490 CMYK, Canon Pixma G1500, G2500, G3500, G4500
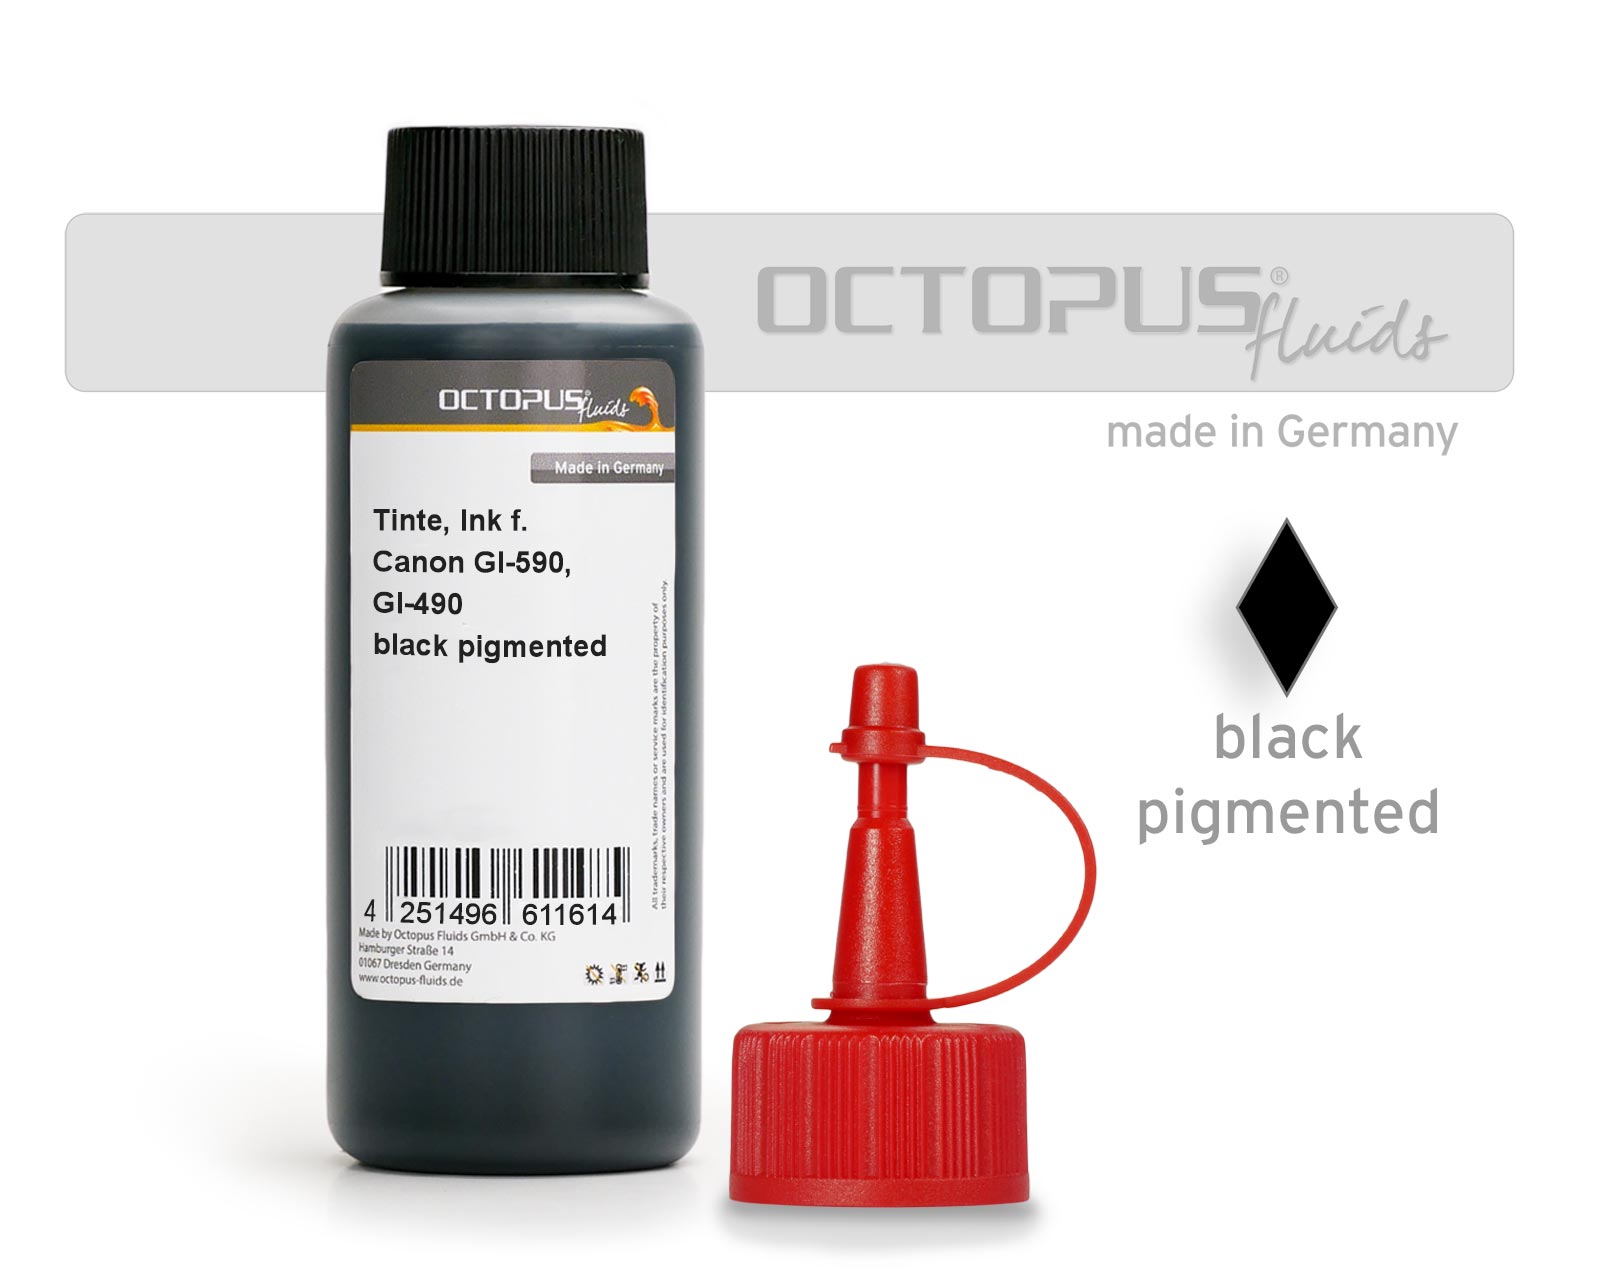 Refill ink Canon GI-590, GI-490 BK, Pixma G1500, G2500, G3500, G4500 black pigmented
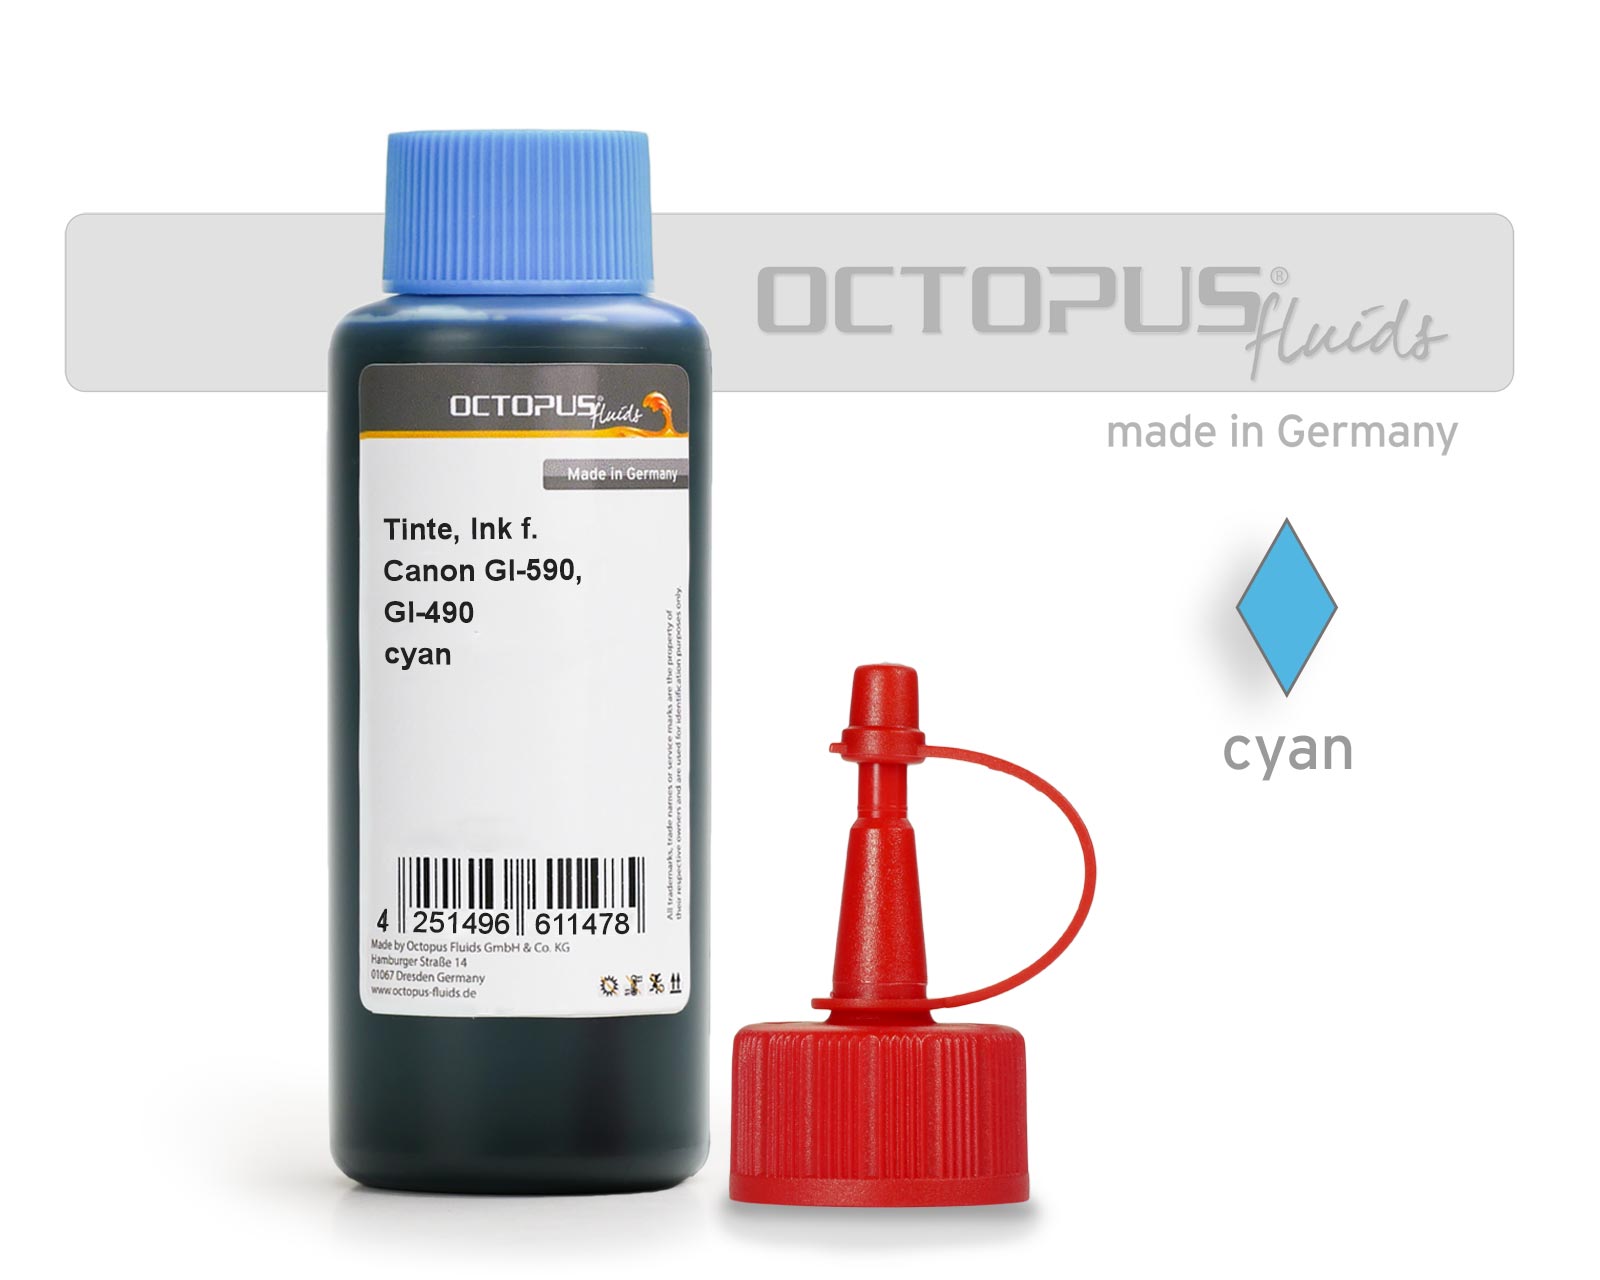 Refill ink Canon GI-590, GI-490 C, Pixma G1500, G2500, G3500, G4500 cyan
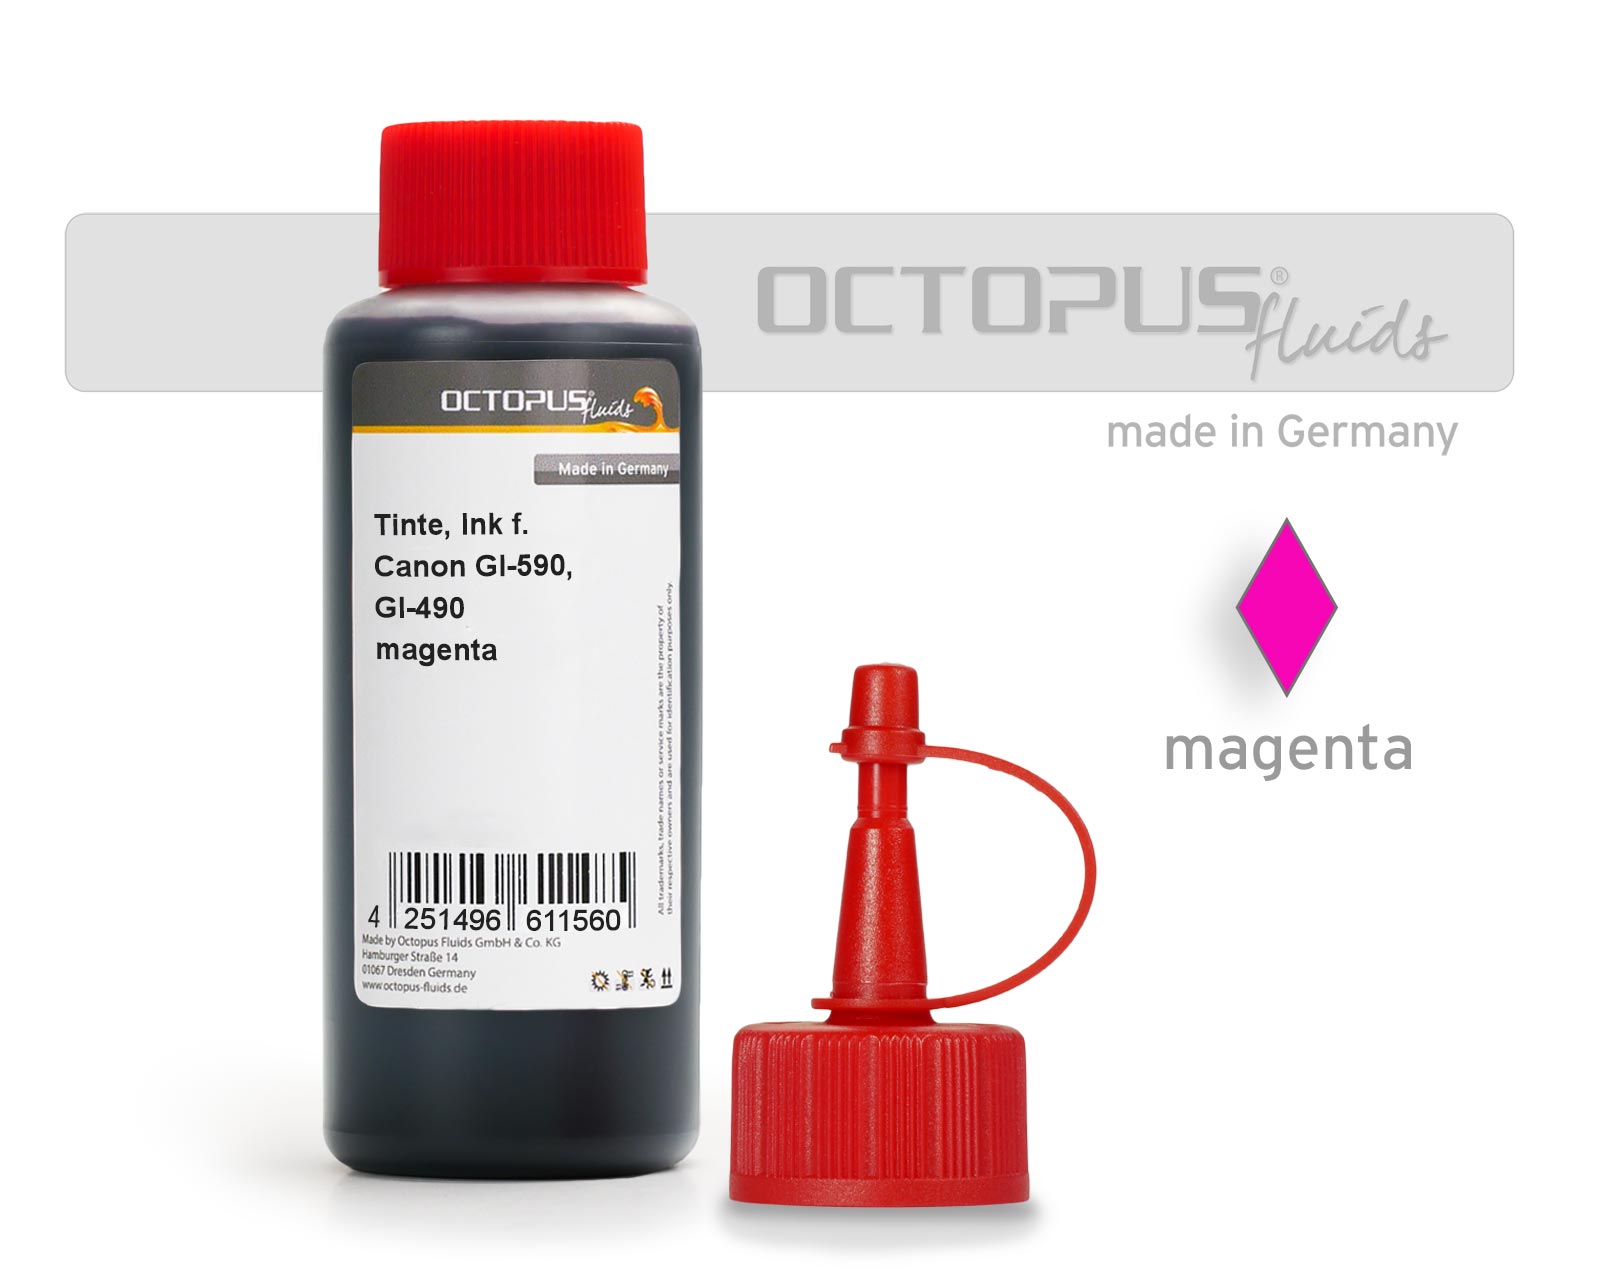 Refill ink Canon GI-590, GI-490 M, Pixma G1500, G2500, G3500, G4500 magenta
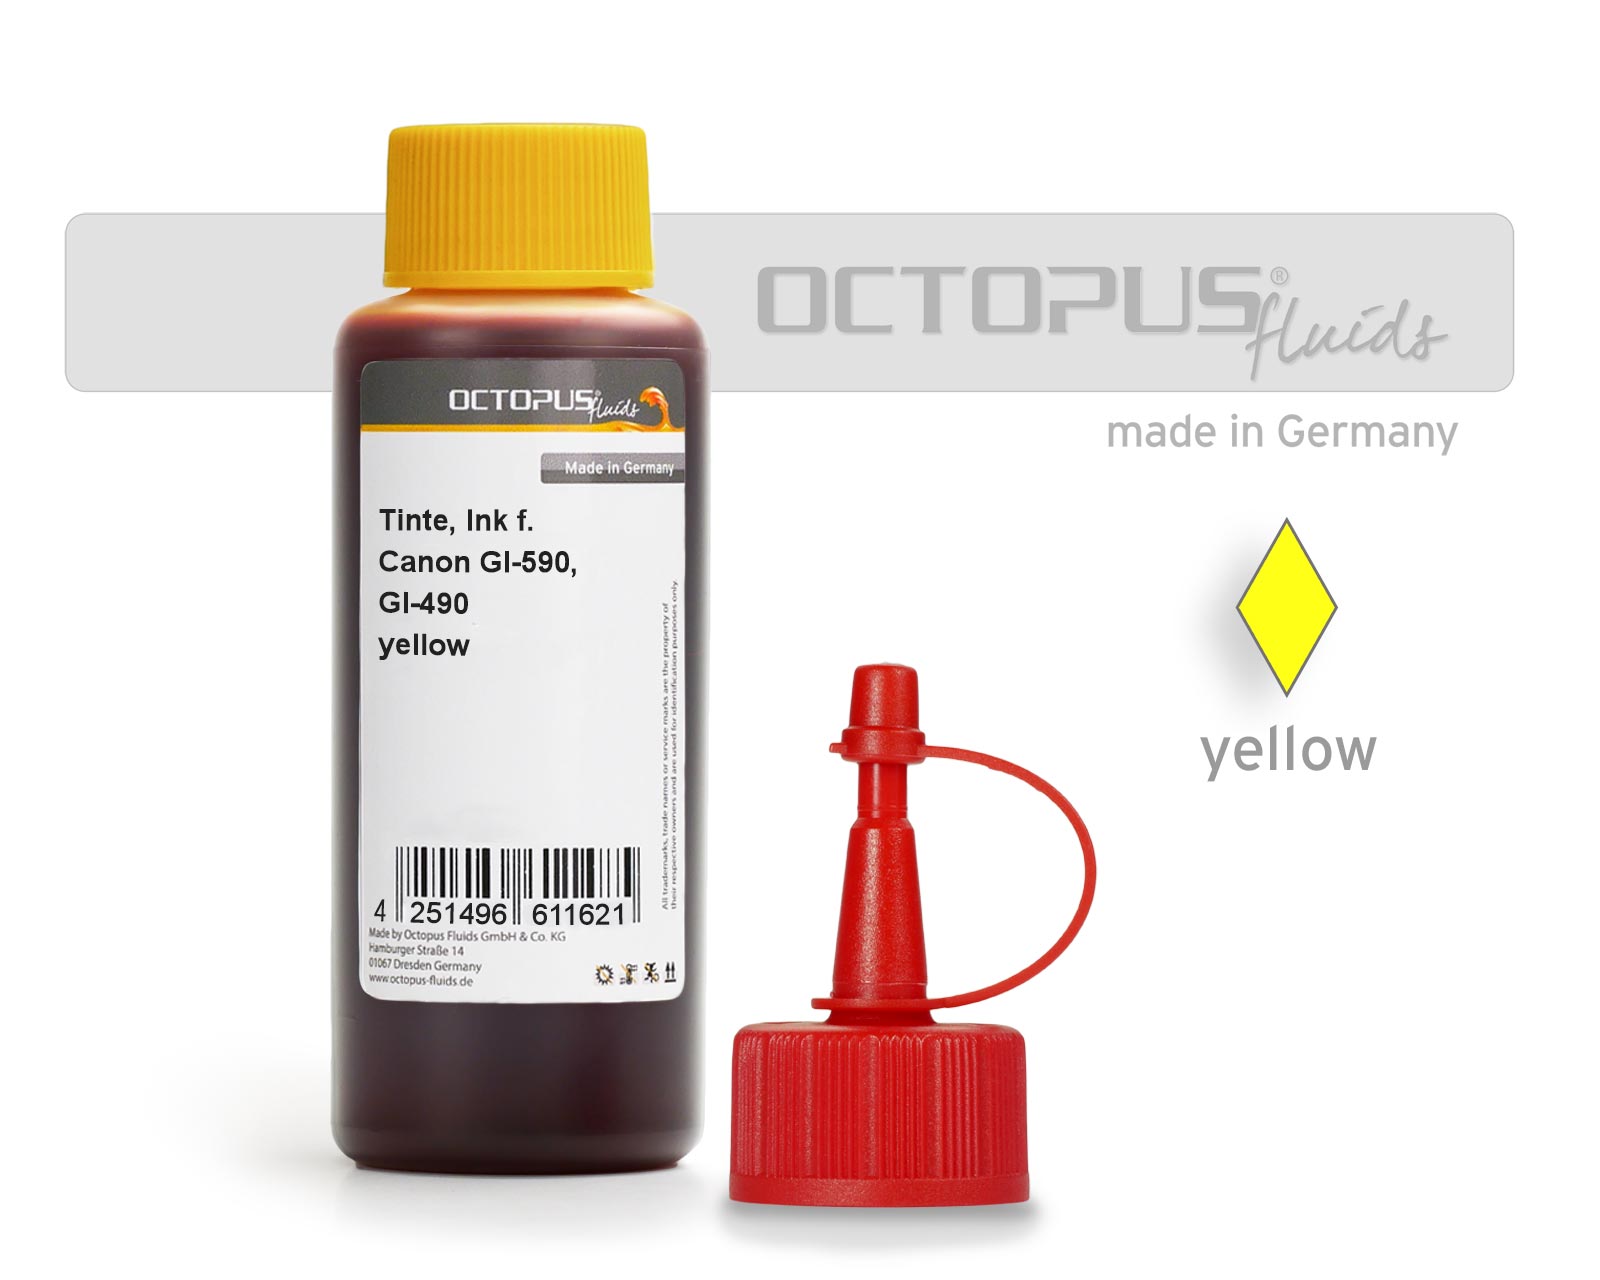 Refill ink Canon GI-590, GI-490 Y, Pixma G1500, G2500, G3500, G4500 yellow


